



Forza Horizon 6 Racing Wheel Setup Guide
 May 27, 2026
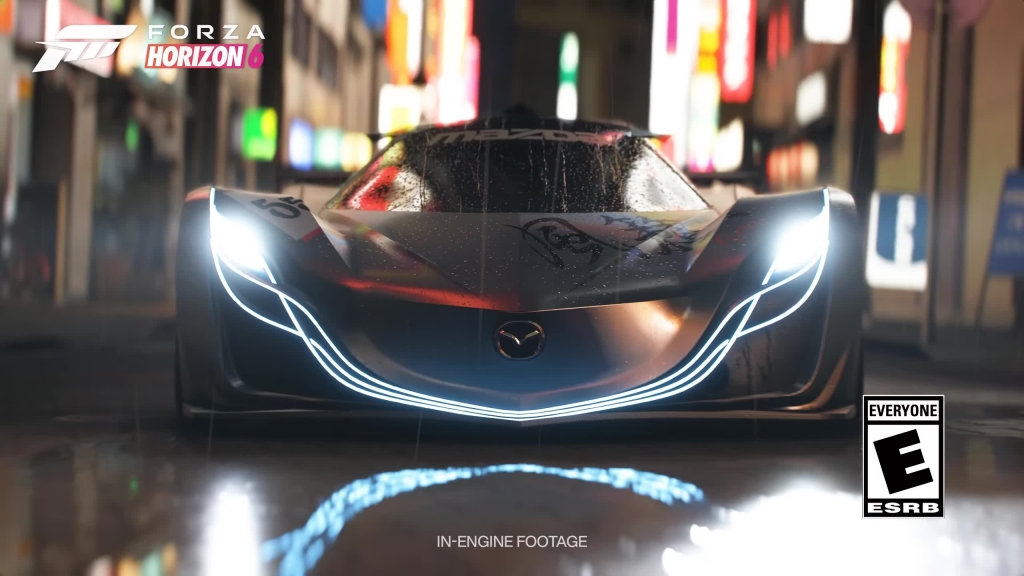
Forza Horizon 6 Racing Wheel Setup Guide: How to Get Your Moza R5 Working Properly
While Forza Horizon 6 is designed to be accessible with controllers and keyboards, many players are looking for a more immersive driving experience through racing wheels. Popular hardware such as the Moza R5 delivers force feedback, realistic steering input, and a much more authentic driving feel. However, unlike traditional Xbox controllers, wheel support currently requires some manual configuration before everything works correctly.
This guide covers the complete process of setting up a Moza R5 racing wheel in Forza Horizon 6, including software preparation, button mapping, force feedback configuration, troubleshooting, and useful tips to improve your driving experience.
For players investing heavily into their garage and progression, properly configuring a wheel can make every race feel more rewarding, especially if you’re already collecting rare vehicles and earning large amounts of Forza Horizon 6 Credits through events and championships.
Why Use a Racing Wheel in Forza Horizon 6?
A racing wheel offers several advantages over a standard controller:
| Feature | Controller | Racing Wheel |
| Steering Precision | Good | Excellent |
| Force Feedback | Limited | Full Feedback |
| Immersion | Moderate | Very High |
| Pedal Control | Triggers | Dedicated Pedals |
| Realistic Driving Feel | Limited | Authentic |
Although wheel support is available, players should be aware that the setup process isn’t currently plug-and-play for many wheel manufacturers.
Step 1: Update Your Moza Pit House Software
Before launching Forza Horizon 6, make sure your wheel firmware and software are up to date.
Recommended Preparation
- Close Forza Horizon 6 completely.
- Open Moza Pit House on your PC.
- Navigate to:
Settings → Experimental Function
- Verify your software version is at least 1.3.9 or newer.
- Install the latest available update.
One important note is that enabling “Forza Horizon Compatibility Mode” is not strictly necessary. Many users report the wheel functions correctly without activating this option.
Suggested Wheel Rotation Settings
While personal preference varies, these values provide a good starting point:
| Wheel Rotation | Driving Feel |
| 540° | Faster steering response |
| 720° | Balanced realism and responsiveness |
| 900° | Most realistic road-car experience |
The creator of the setup guide uses 720 degrees, which offers a solid middle ground for both casual cruising and competitive racing.
Step 2: Launch the Game and Configure Controls
Once the software is updated, launch Forza Horizon 6.
You’ll quickly notice that the wheel may be detected, but none of the controls are assigned automatically.
To begin configuration:
Settings → Controls → Change Input Mapping
You should see your wheel listed, but most functions will appear as Unbound.
This means every major driving function must be manually assigned.
Step 3: Bind Essential Driving Inputs
The most important controls should be mapped first.
| Function | Recommended Input |
| Accelerate | Accelerator Pedal |
| Brake | Brake Pedal |
| Steering | Wheel Axis |
| Handbrake | Convenient Side Button |
| Shift Up | Right Paddle |
| Shift Down | Left Paddle |
| Activate | A Button |
| Rewind | Y Button |
| Pause | S2 Button |
| Camera Change | Camera Button |
When assigning steering:
- Select the steering input option.
- Rotate the wheel left or right.
- Allow the game to detect the steering axis automatically.
For separate brake and accelerator pedals, ensure combined pedal options remain disabled.
Step 4: Configure Navigation and Utility Controls
Several additional controls make navigating menus and gameplay significantly easier.
| Function | Suggested Mapping |
| Map | N Button |
| Horn | Start Button |
| Photo Mode | D-Pad Up |
| Radio Next | D-Pad Right |
| Activate Anna | D-Pad Down |
| Forza Link | D-Pad Left |
Forza Link options can also be assigned to directional inputs for easier communication while driving online.
Most players can safely ignore the dedicated gear-selection bindings that assign buttons directly to first, second, third gear, and so on, unless using a specialized shifter setup.
Step 5: Save Your Profile Correctly
This is the most important step in the entire process.
After completing all bindings:
- Turn off any connected Xbox controller.
- Disconnect or power down any secondary controller inputs.
- Save your custom wheel profile.
Failure to do this can cause input conflicts.
Many users report that plugging in or activating another controller after configuring the wheel can force the game to ignore wheel inputs or reset bindings entirely.
Common Input Conflict Issue
| Scenario | Result |
| Wheel Only | Works Correctly |
| Wheel + Controller Connected | Potential Input Conflicts |
| Controller Activated After Setup | Wheel Settings May Stop Working |
| Mouse + Wheel | Recommended |
For now, using only the wheel and a mouse provides the most reliable experience.
Step 6: Test Force Feedback
After saving your profile:
- Enter free roam.
- Turn the wheel left and right.
- Accelerate and brake.
- Drive over uneven surfaces.
If configured correctly, you should immediately feel:
- Force feedback resistance
- Road vibration effects
- Steering weight changes
- Surface texture feedback
These effects significantly improve immersion, especially during high-speed racing, drifting, and off-road events.
Known Limitations of Wheel Support
Despite functioning properly once configured, several inconveniences remain.
Map Navigation
One of the largest frustrations is map interaction.
Currently:
- Analog-style map movement may not function correctly through the wheel.
- Panning around the map can be difficult.
- Using a mouse is often required.
Controller Conflicts
Connecting a controller while using the wheel can:
- Disable wheel functionality.
- Override wheel inputs.
- Require rebinding controls.
Until future updates improve wheel support, avoiding simultaneous controller use is strongly recommended.
Enabling Telemetry Data
For players who enjoy analyzing performance data, Forza Horizon 6 includes telemetry support.
Navigate to:
Settings → HUD and Gameplay
Scroll to the bottom of the menu to locate telemetry options.
This allows compatible software, including Moza Pit House, to receive telemetry information such as:
| Telemetry Data |
| Vehicle Speed |
| RPM |
| Gear Position |
| Steering Angle |
| Suspension Data |
| Tire Information |
Telemetry can be especially useful for players fine-tuning setups for competitive racing events and maximizing efficiency while earning FH6 Credits through higher-level content.
Getting the Most from Your Wheel Setup
A properly configured Moza R5 transforms the overall driving experience in Forza Horizon 6. While the current setup process requires manually assigning controls and avoiding controller conflicts, the reward is a far more immersive and precise driving experience than a standard gamepad can provide.
By updating your software, creating a complete custom wheel profile, disabling conflicting controllers, and enabling telemetry support, you’ll be able to enjoy full force feedback functionality and realistic vehicle handling across Mexico’s roads. As future updates improve wheel compatibility, the setup process will likely become easier, but for now, these steps provide the most reliable path to getting your racing wheel working exactly as intended.